Automate Document Signing using the DocuSign API
Adam Yue
Nov. 26, 2020
/
There are many container registry solutions in the market, such as Dockerhub, Amazon ECR, GitLab Container Registry, etc. However, if you want to build a private enterprise-level container registry on your local datacenter, the Red Hat Quay solution should be considered.
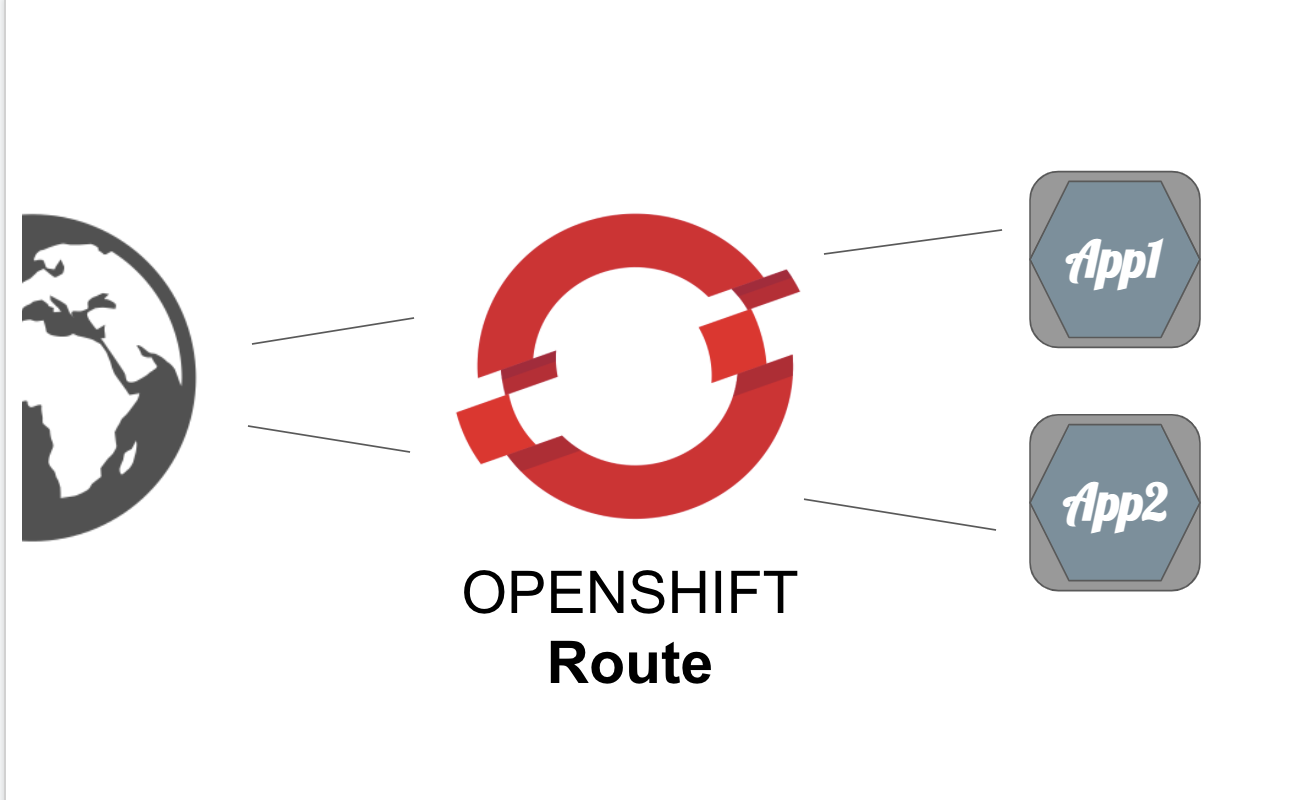
Red Hat Quay provides secure storage, distribution, and deployment of containers on any infrastructure. It is available as a standalone component or in conjunction with OpenShift. You can refer https://access.redhat.com/documentation/en-us/red_hat_quay/3.3/ to install the Red Hat Quay Enterprise version on your local environment. This article will focus on introducing the functionality of Red Hat Quay version 3.2.1.
In Quay, you can create different organizations for different business units or different projects. Each organization contains isolated teams, repositories, robot accounts and API Tokens. Besides, with the integration of Clair, Quay can scan the vulnerability of the pushed image automatically.
Create organizations and repositories
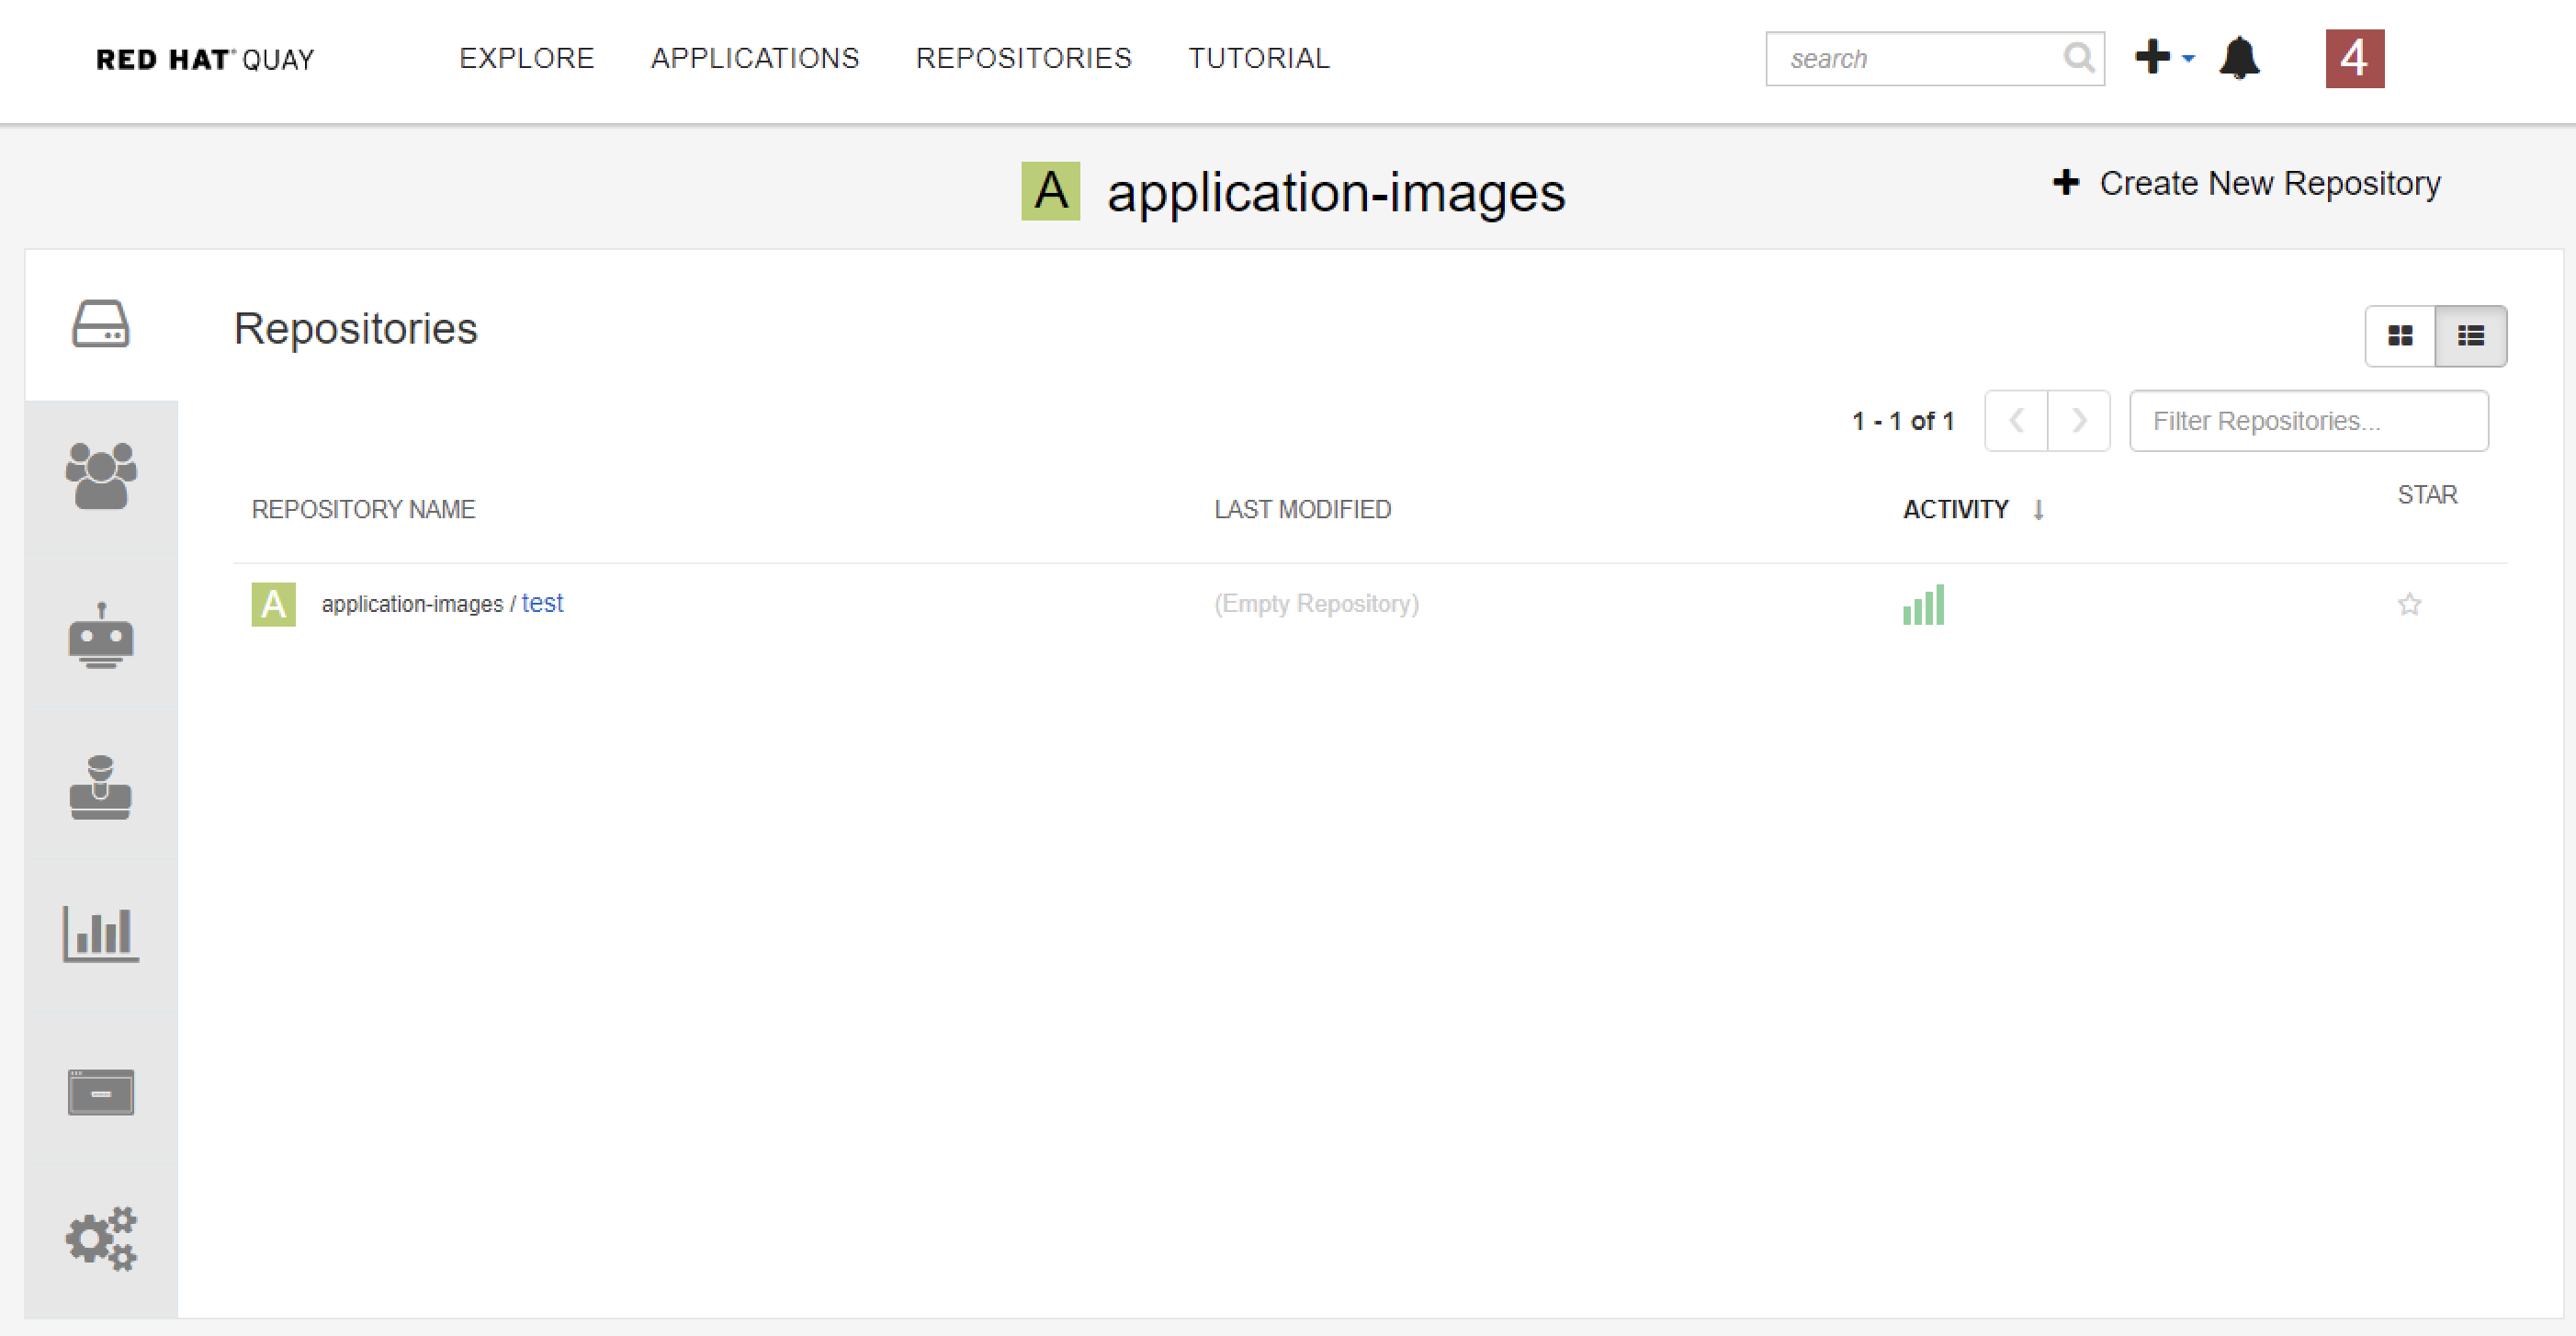
Copy Images from Public Red Hat Registry to Quay via Skopeo
$ sudo docker login quay-eu-uat
$ sudo skopeo copy --src-tls-verify=false --dest-tls-verify=false docker://registry.redhat.io/rhscl/nginx-116-rhel7 docker://quay-eu-uat/application-images/test:1
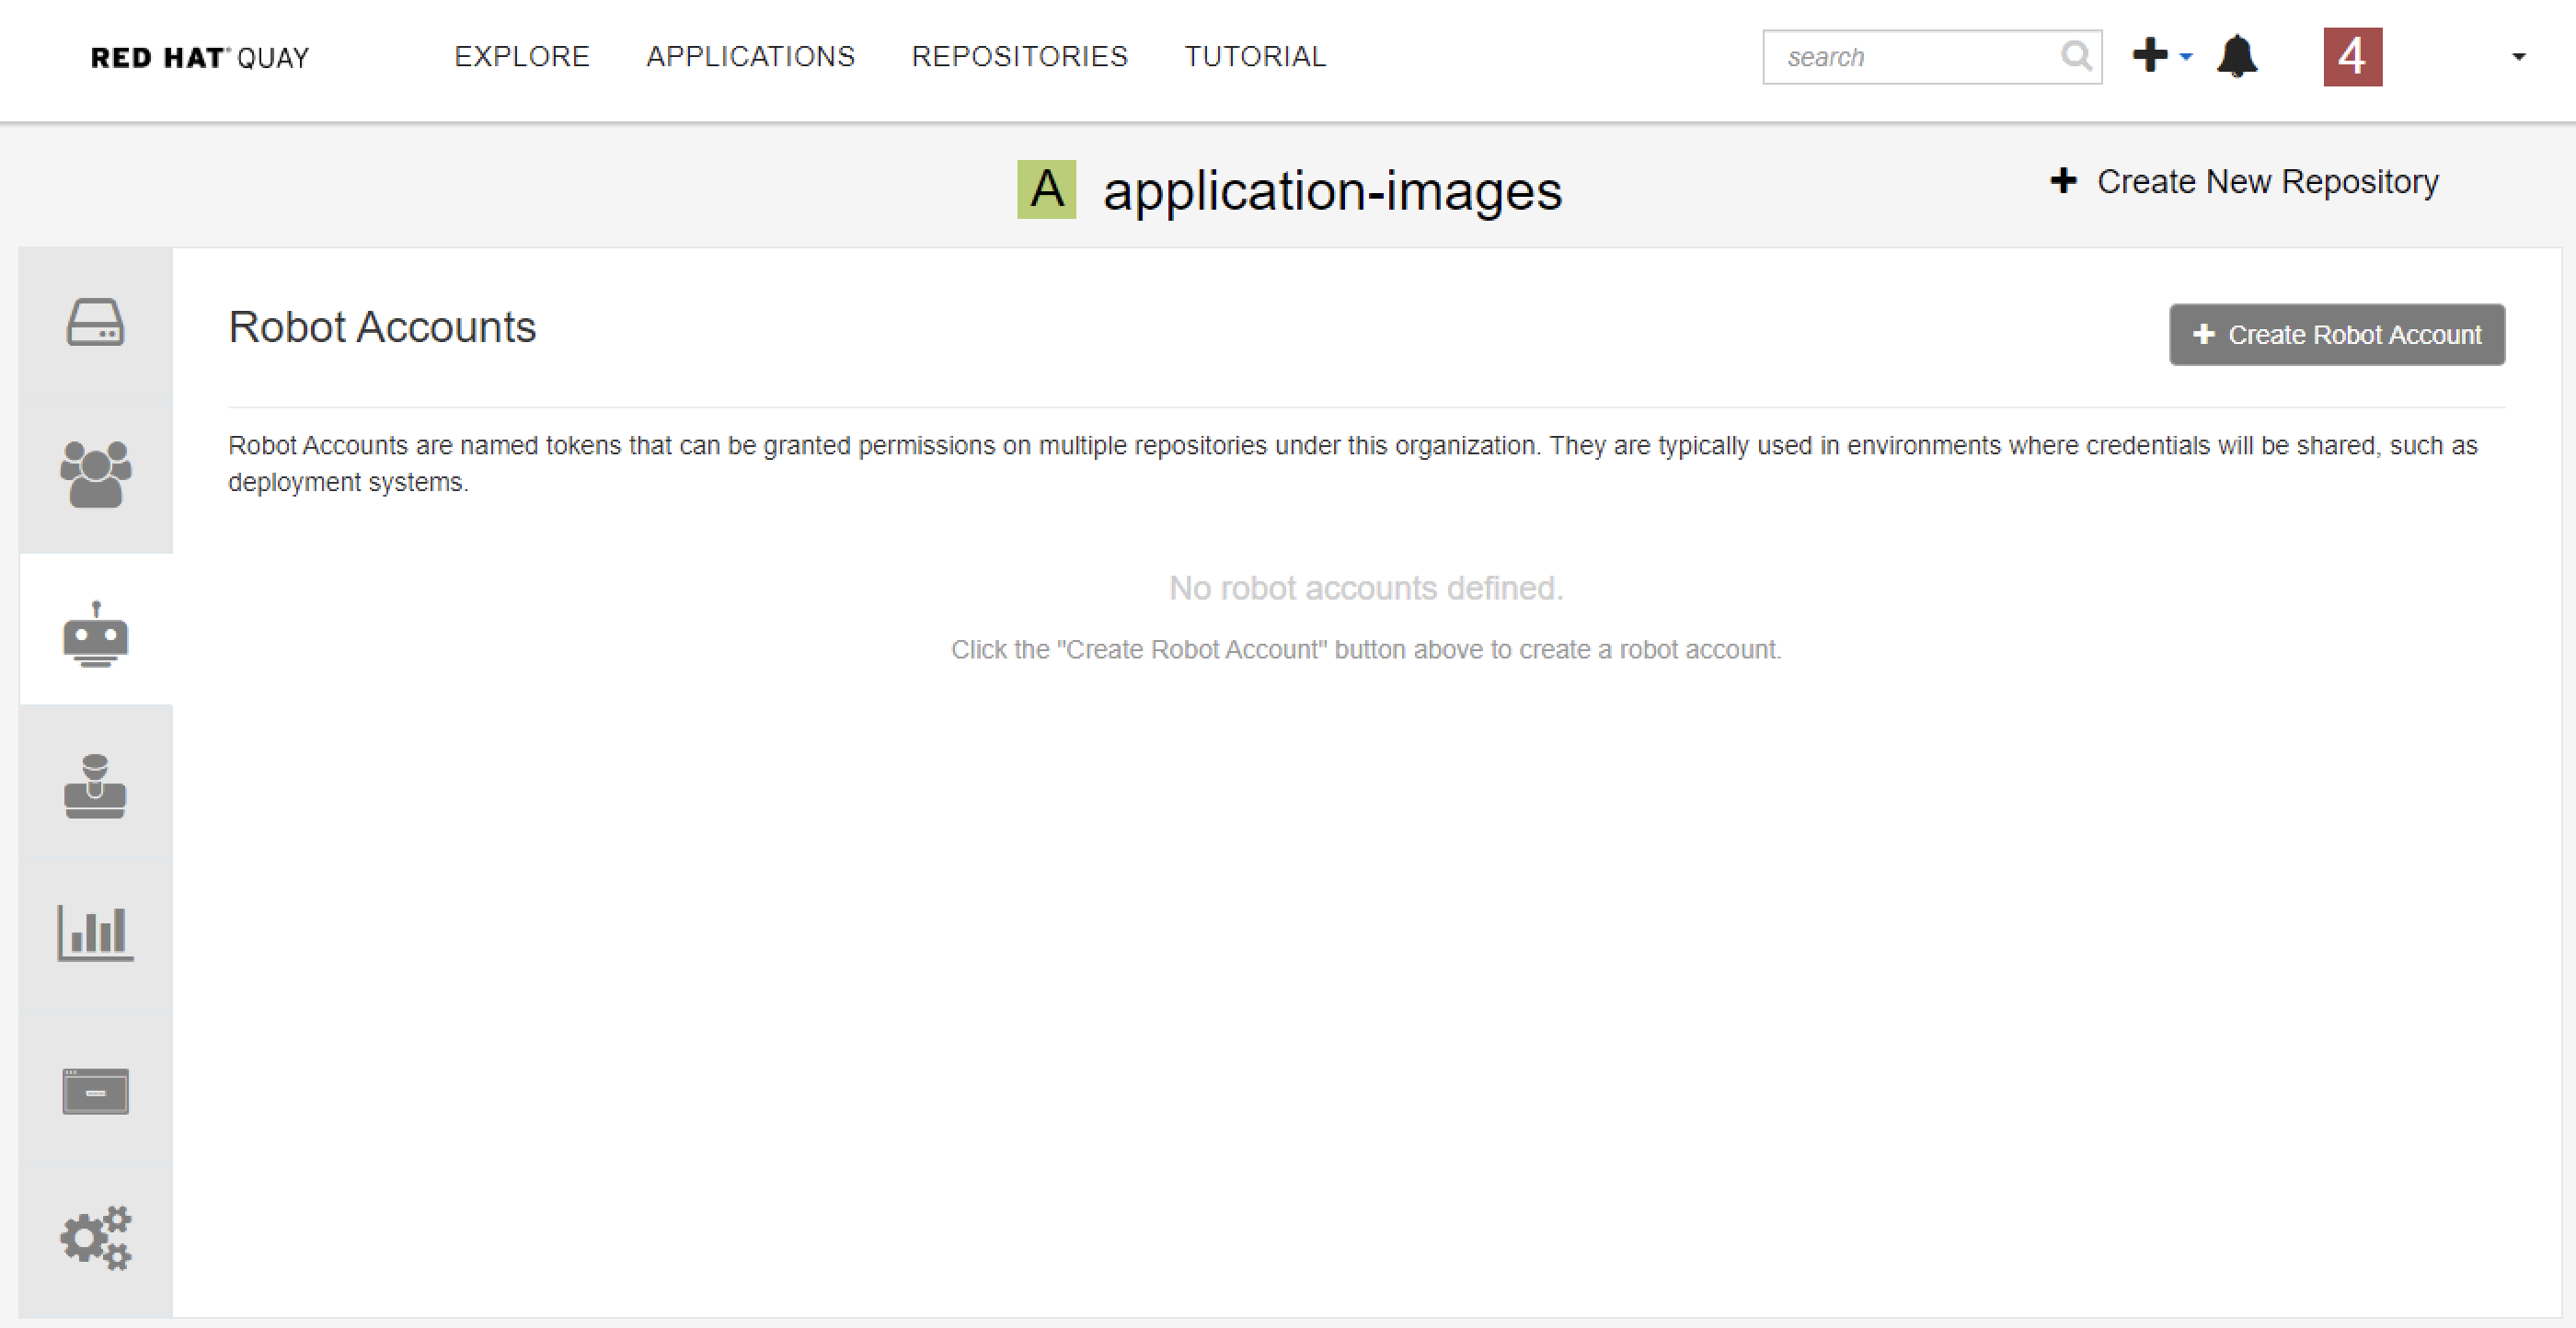
There are many circumstances where permissions for repositories need to be shared with other services, such as CI/CD pipeline and Openshift. To support this case, Quay allows the use of robot account which is owned by a user or organization to access multiple repositories.
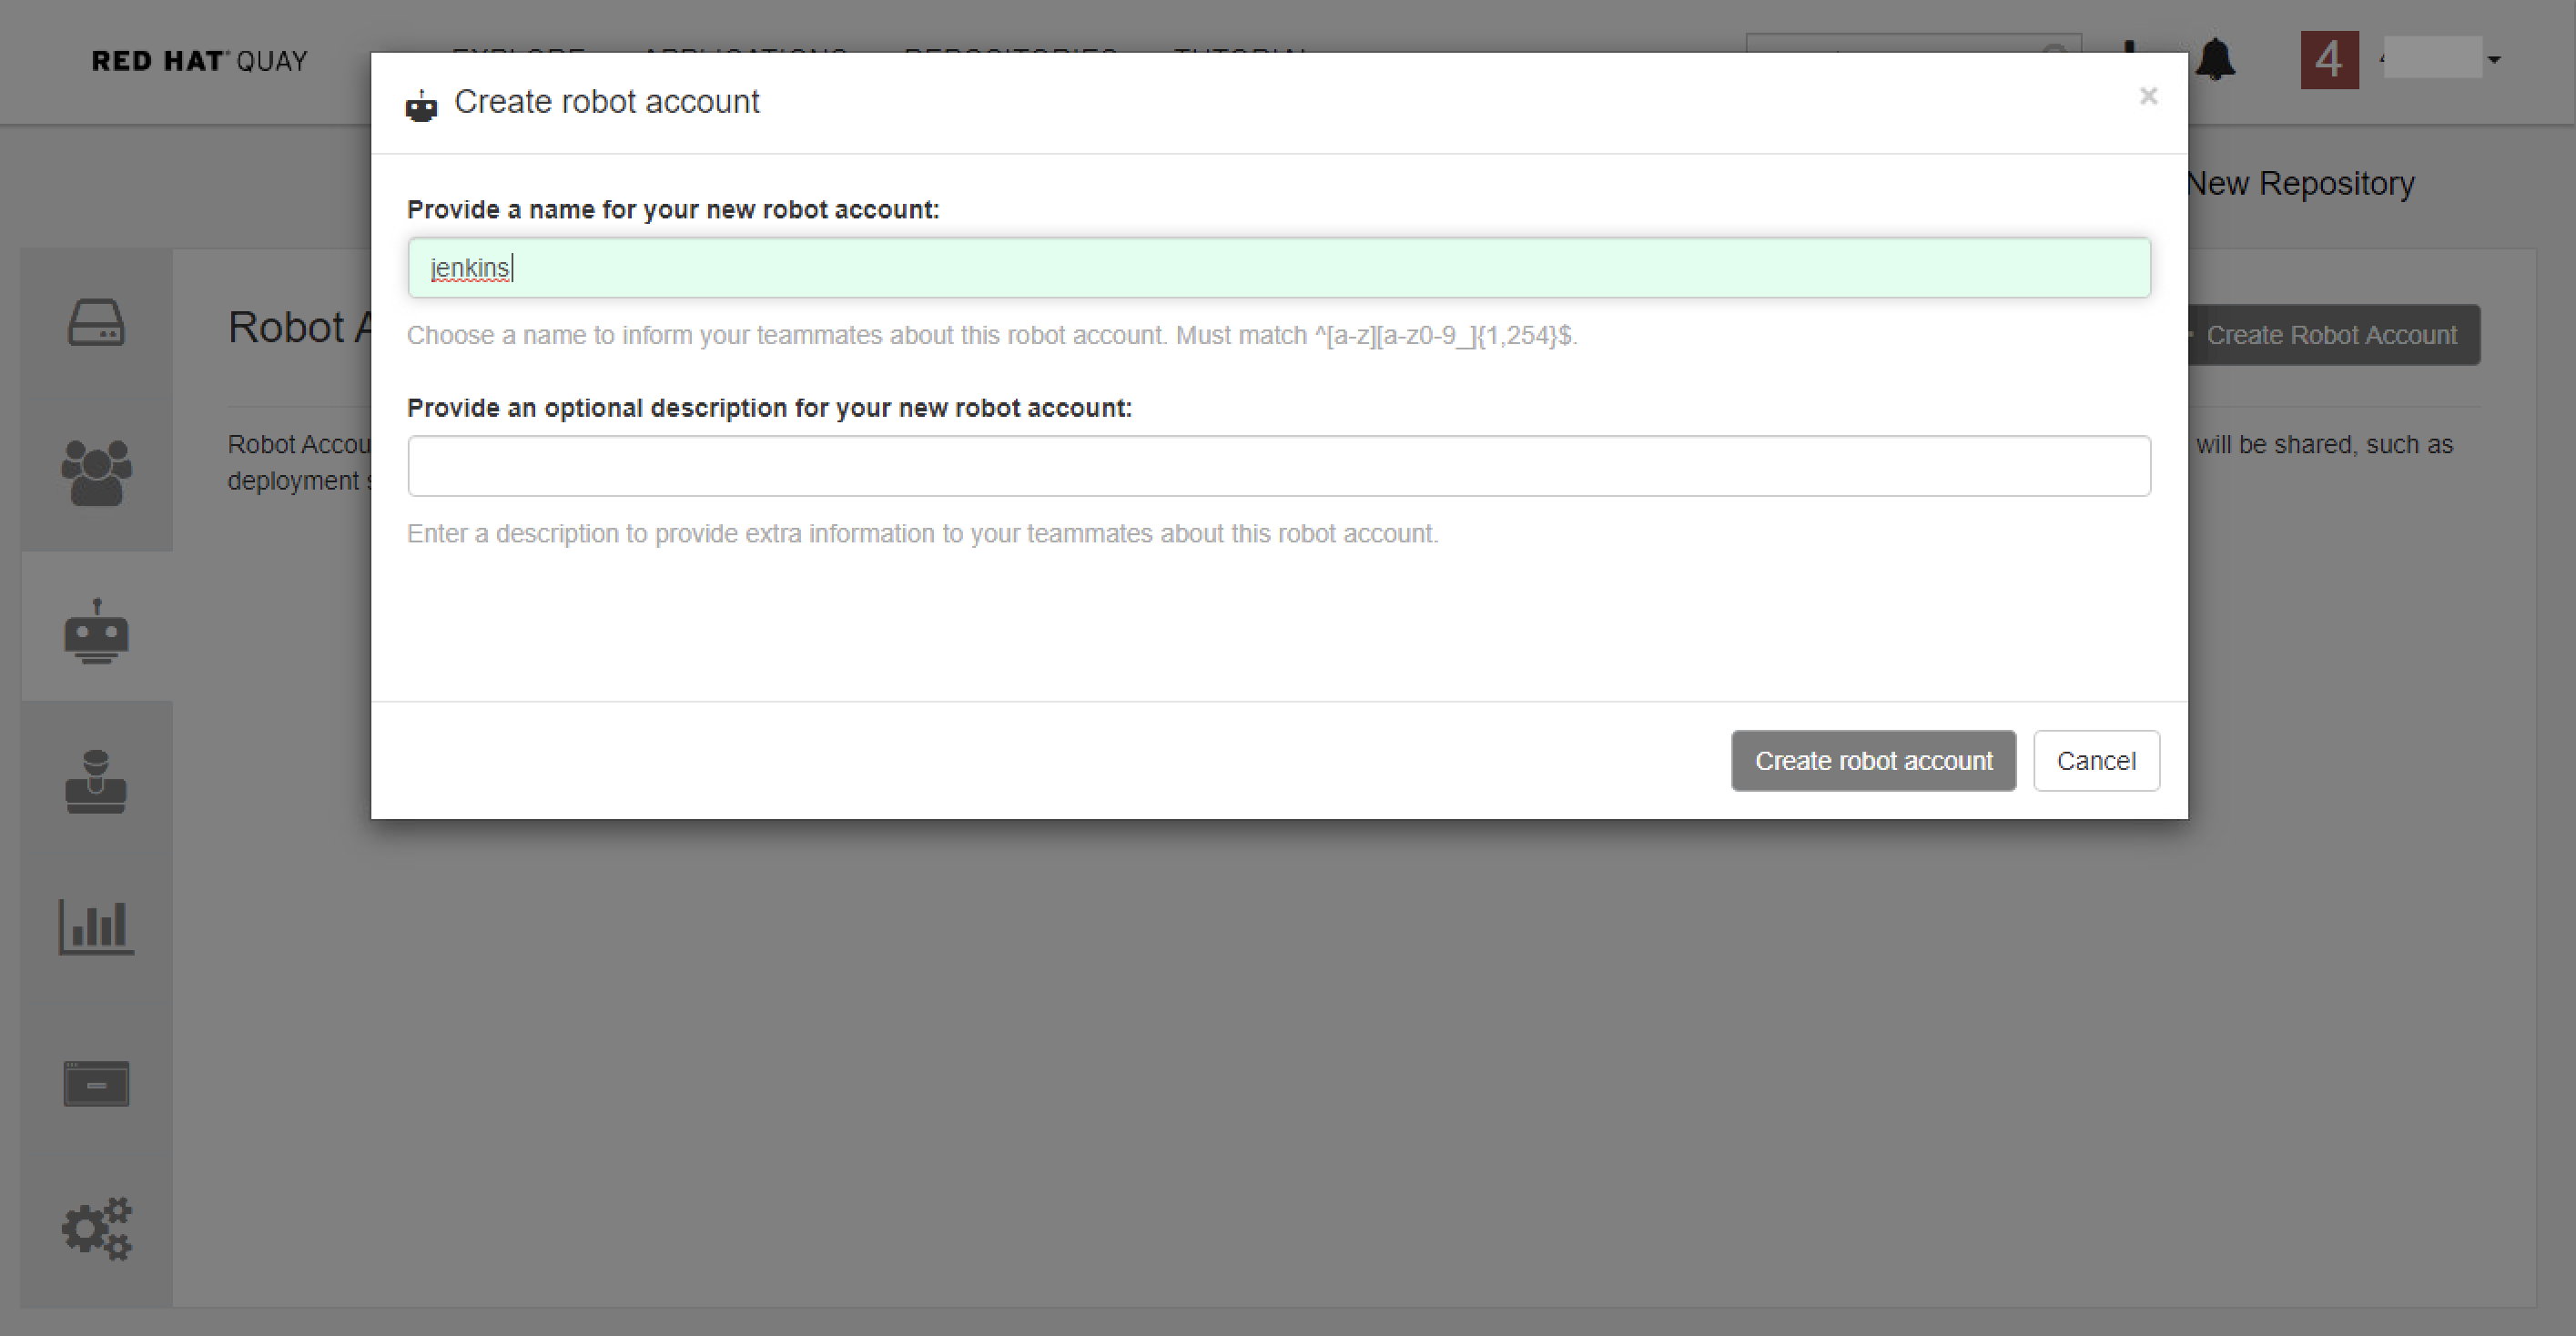
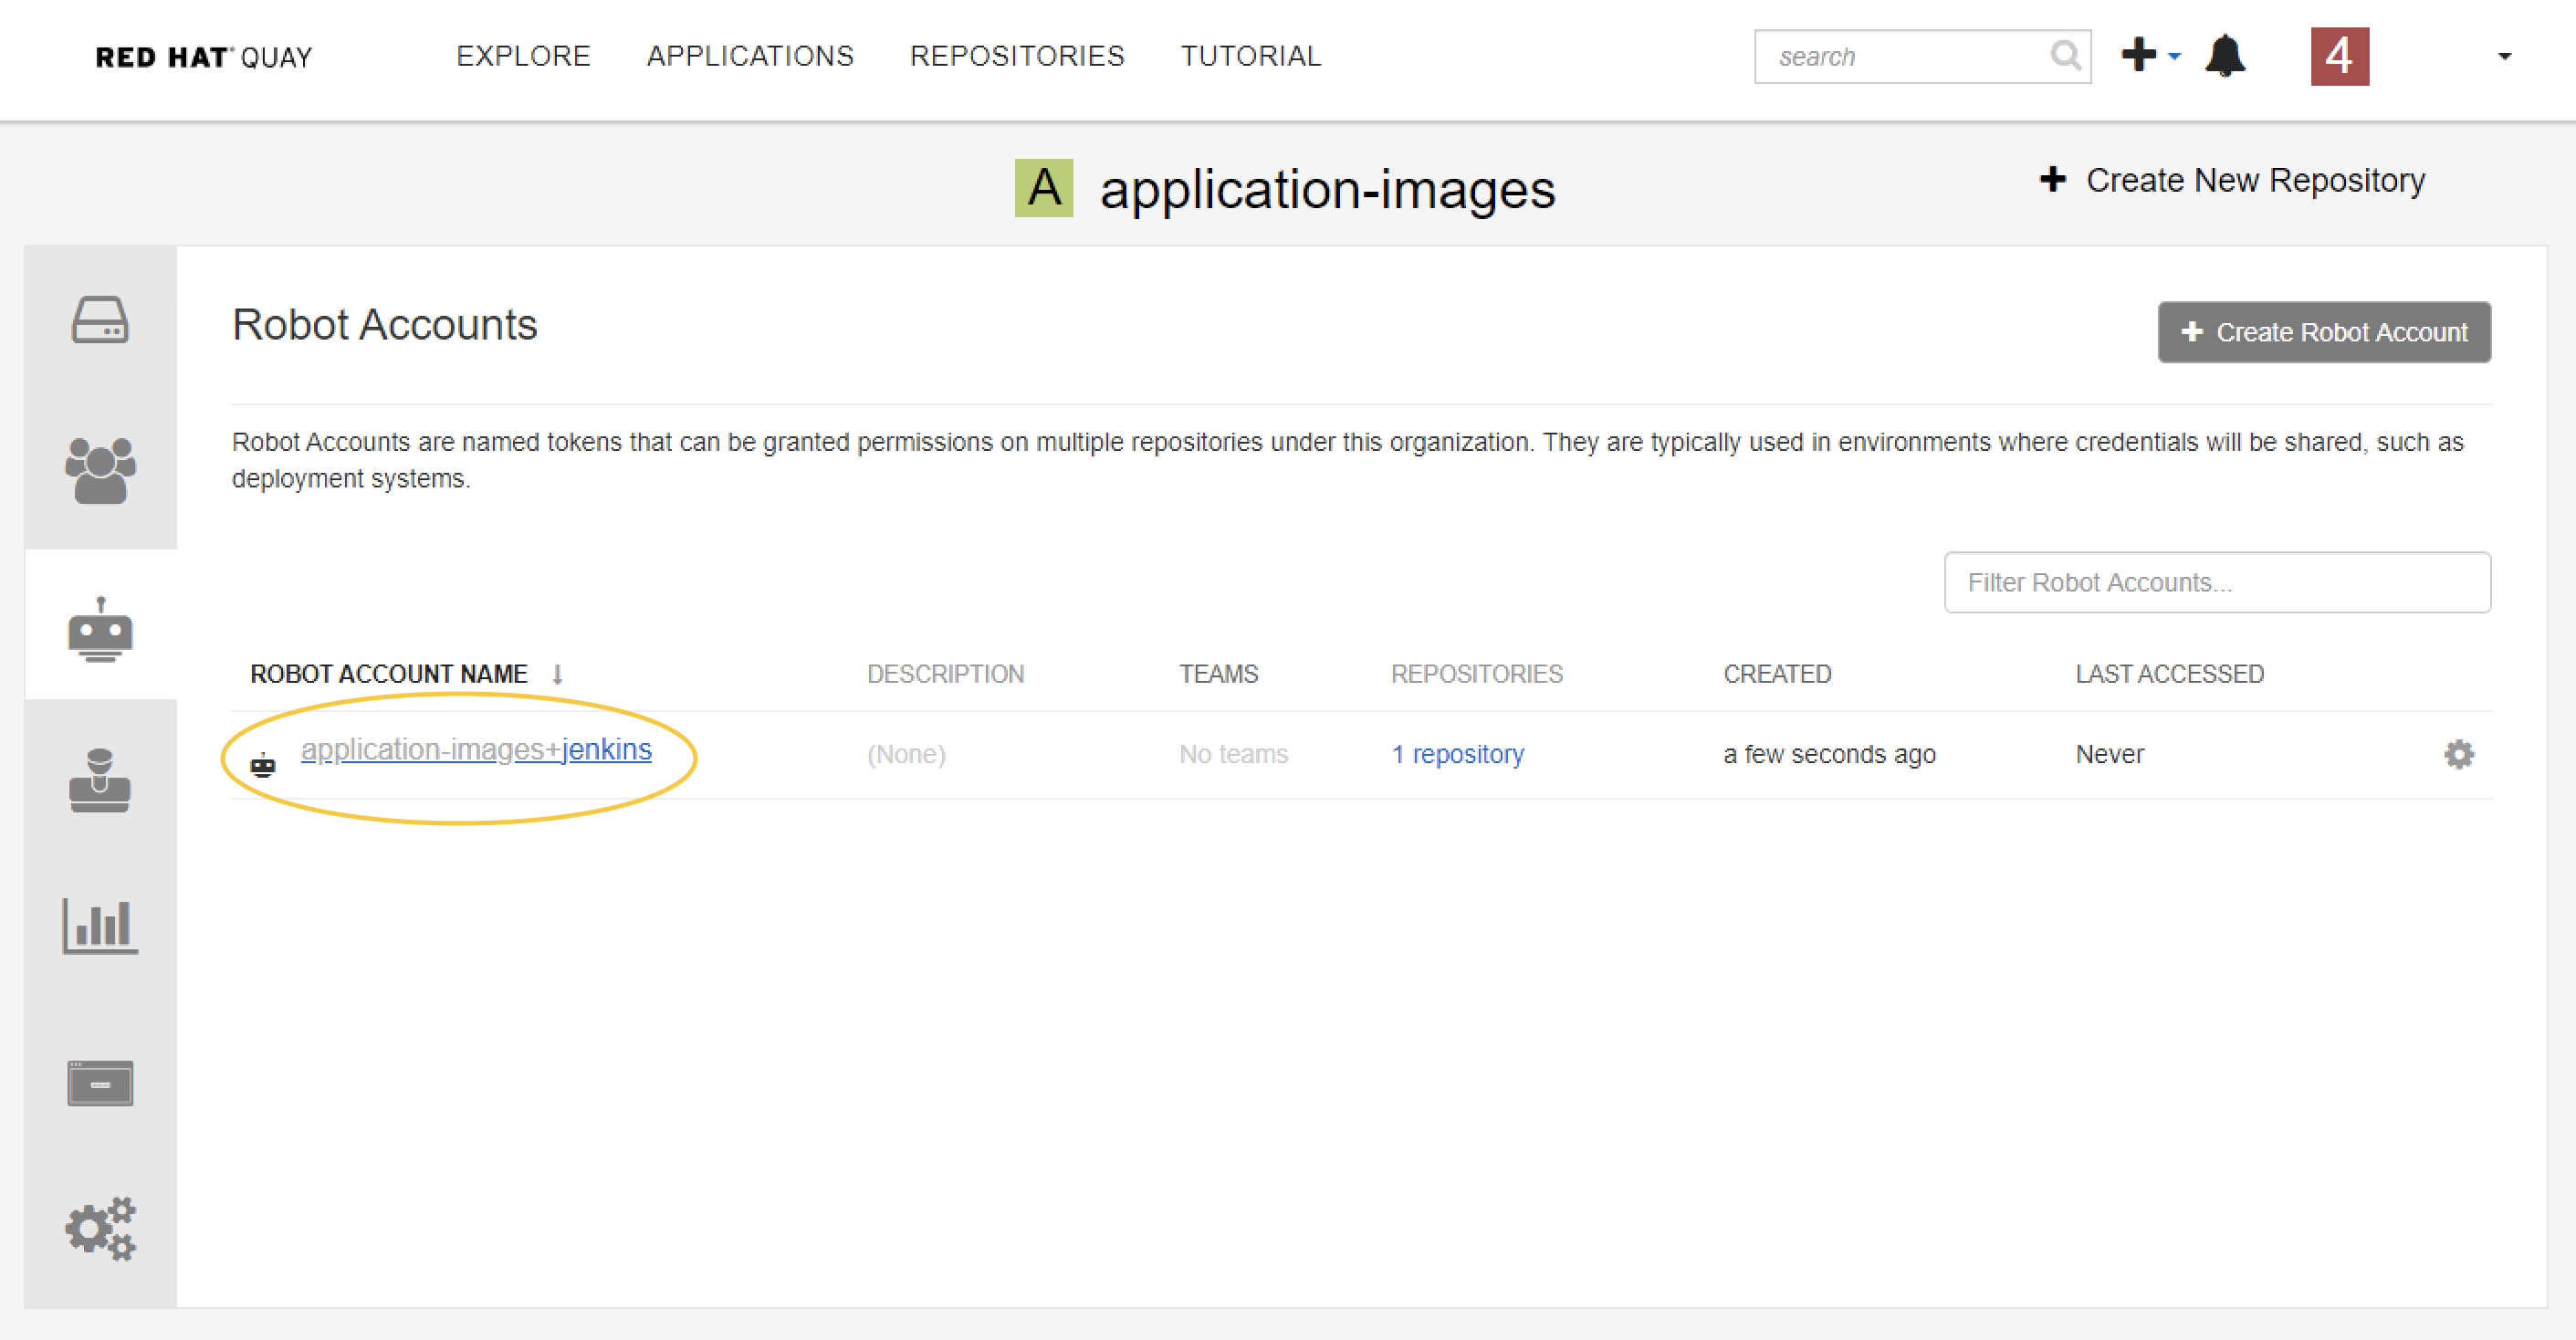
Create a robot account
Give the robot account a name
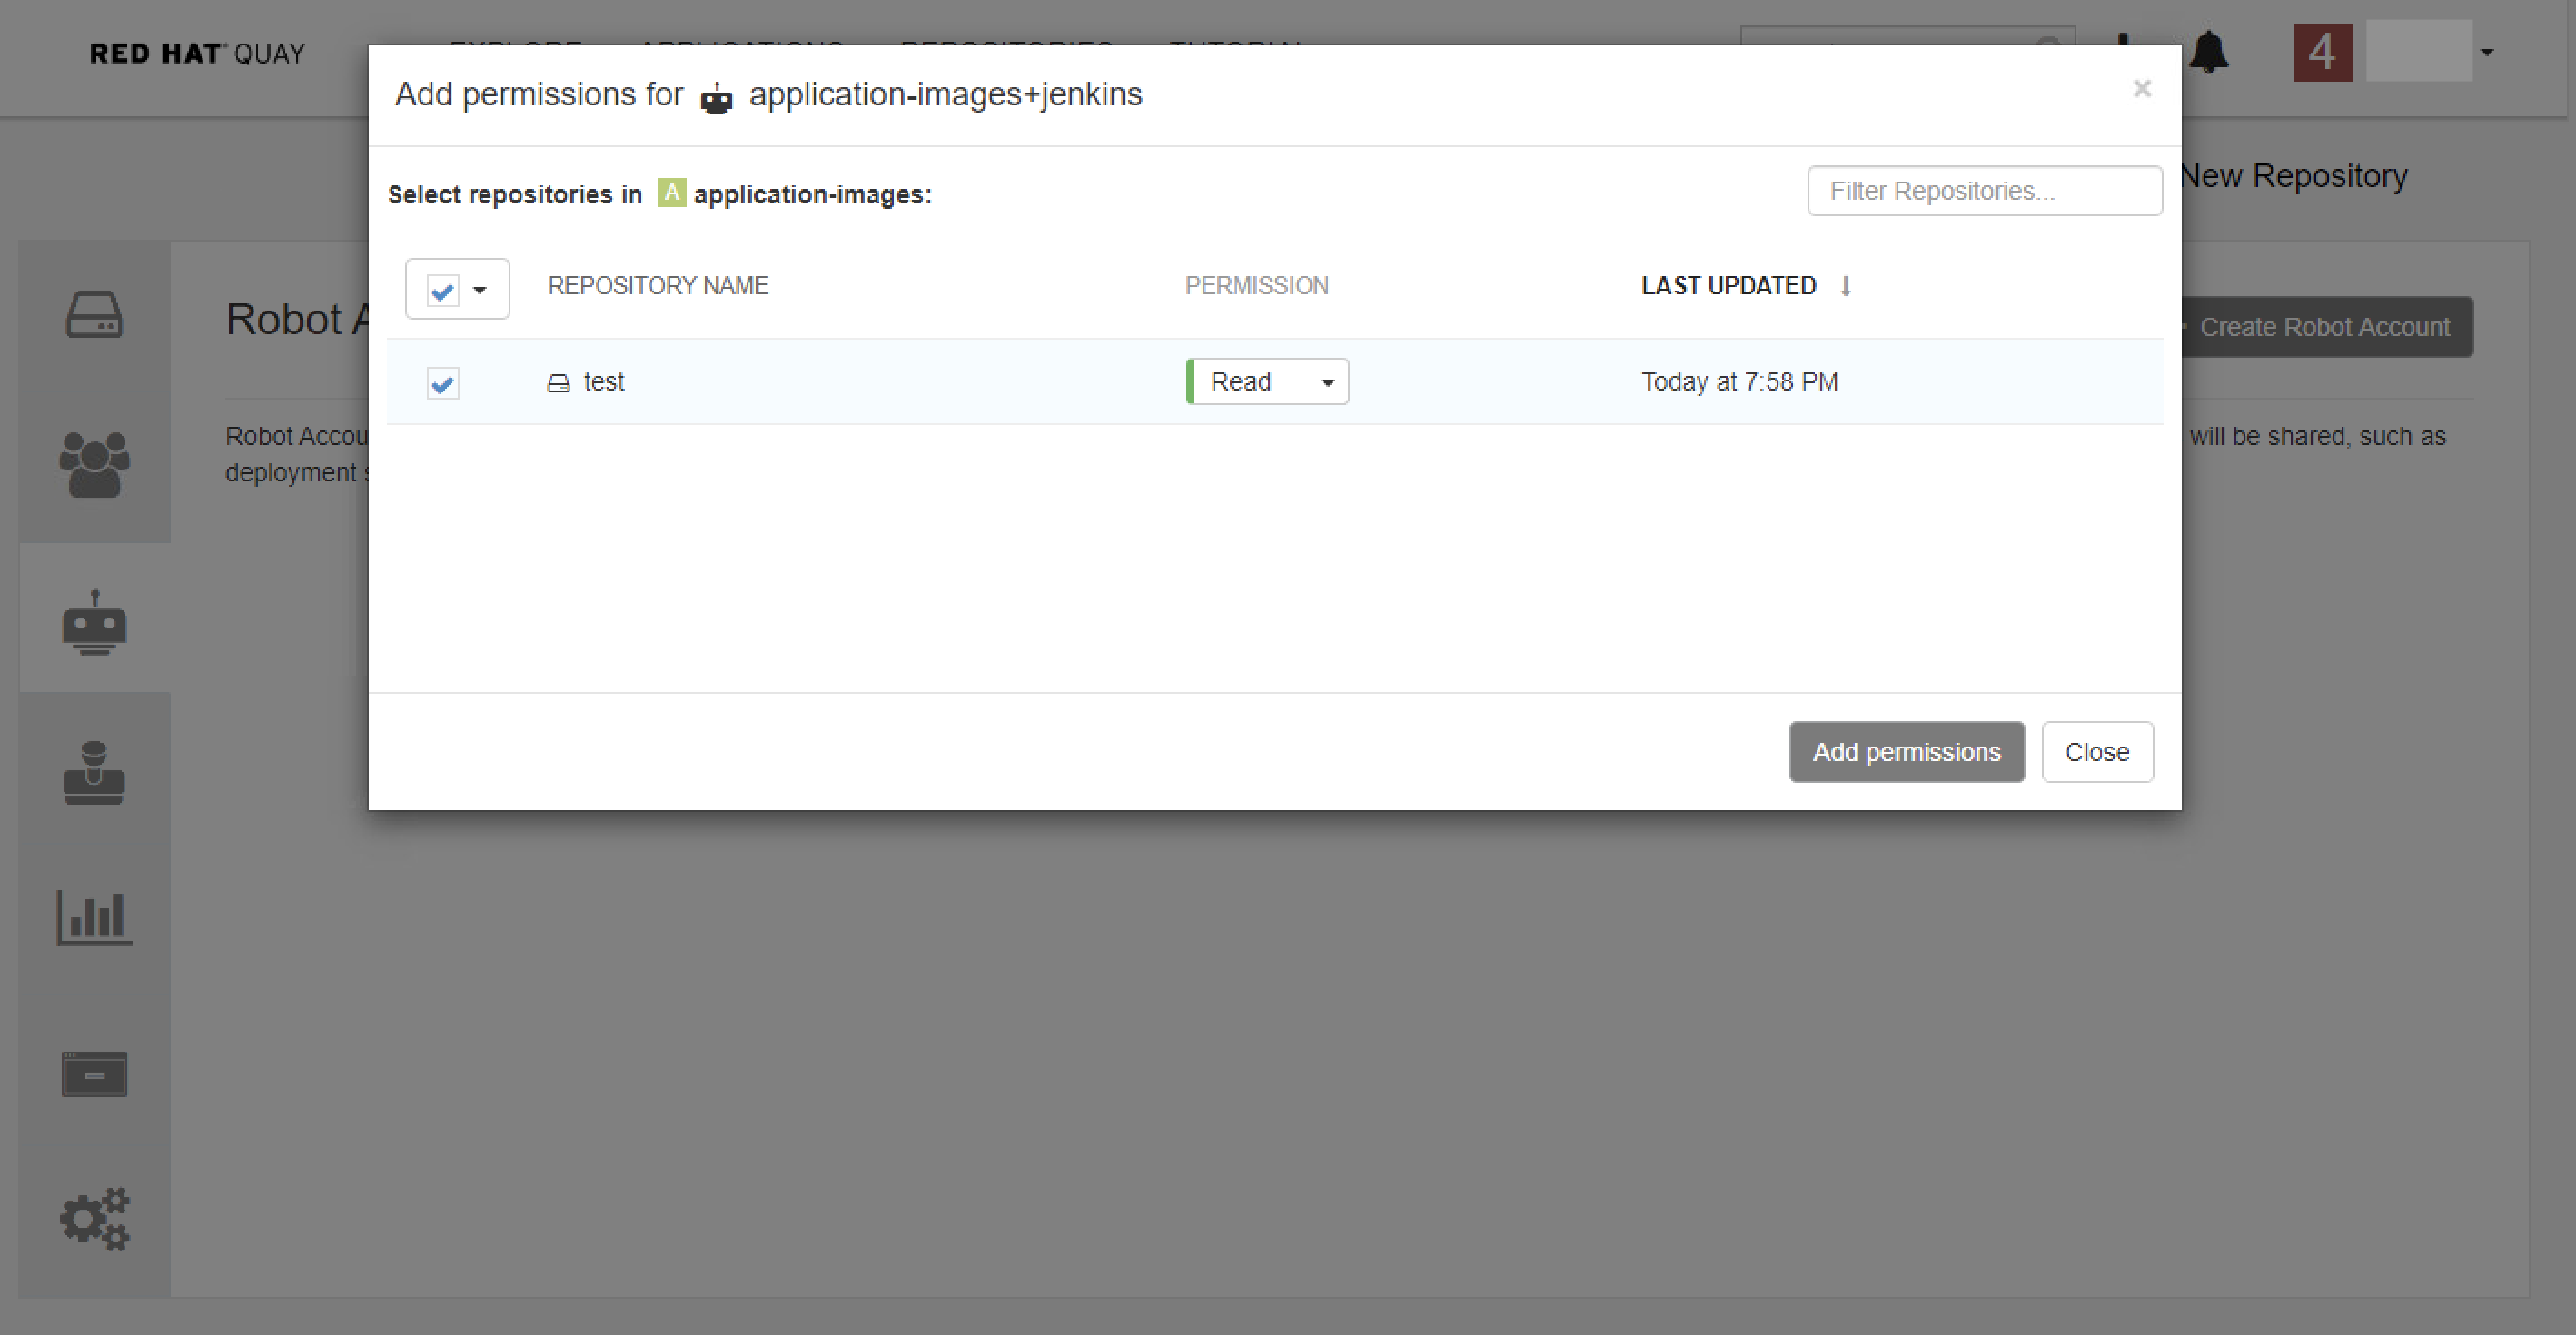
Give robot account permission to access your repository
Get the credential of the robot account.
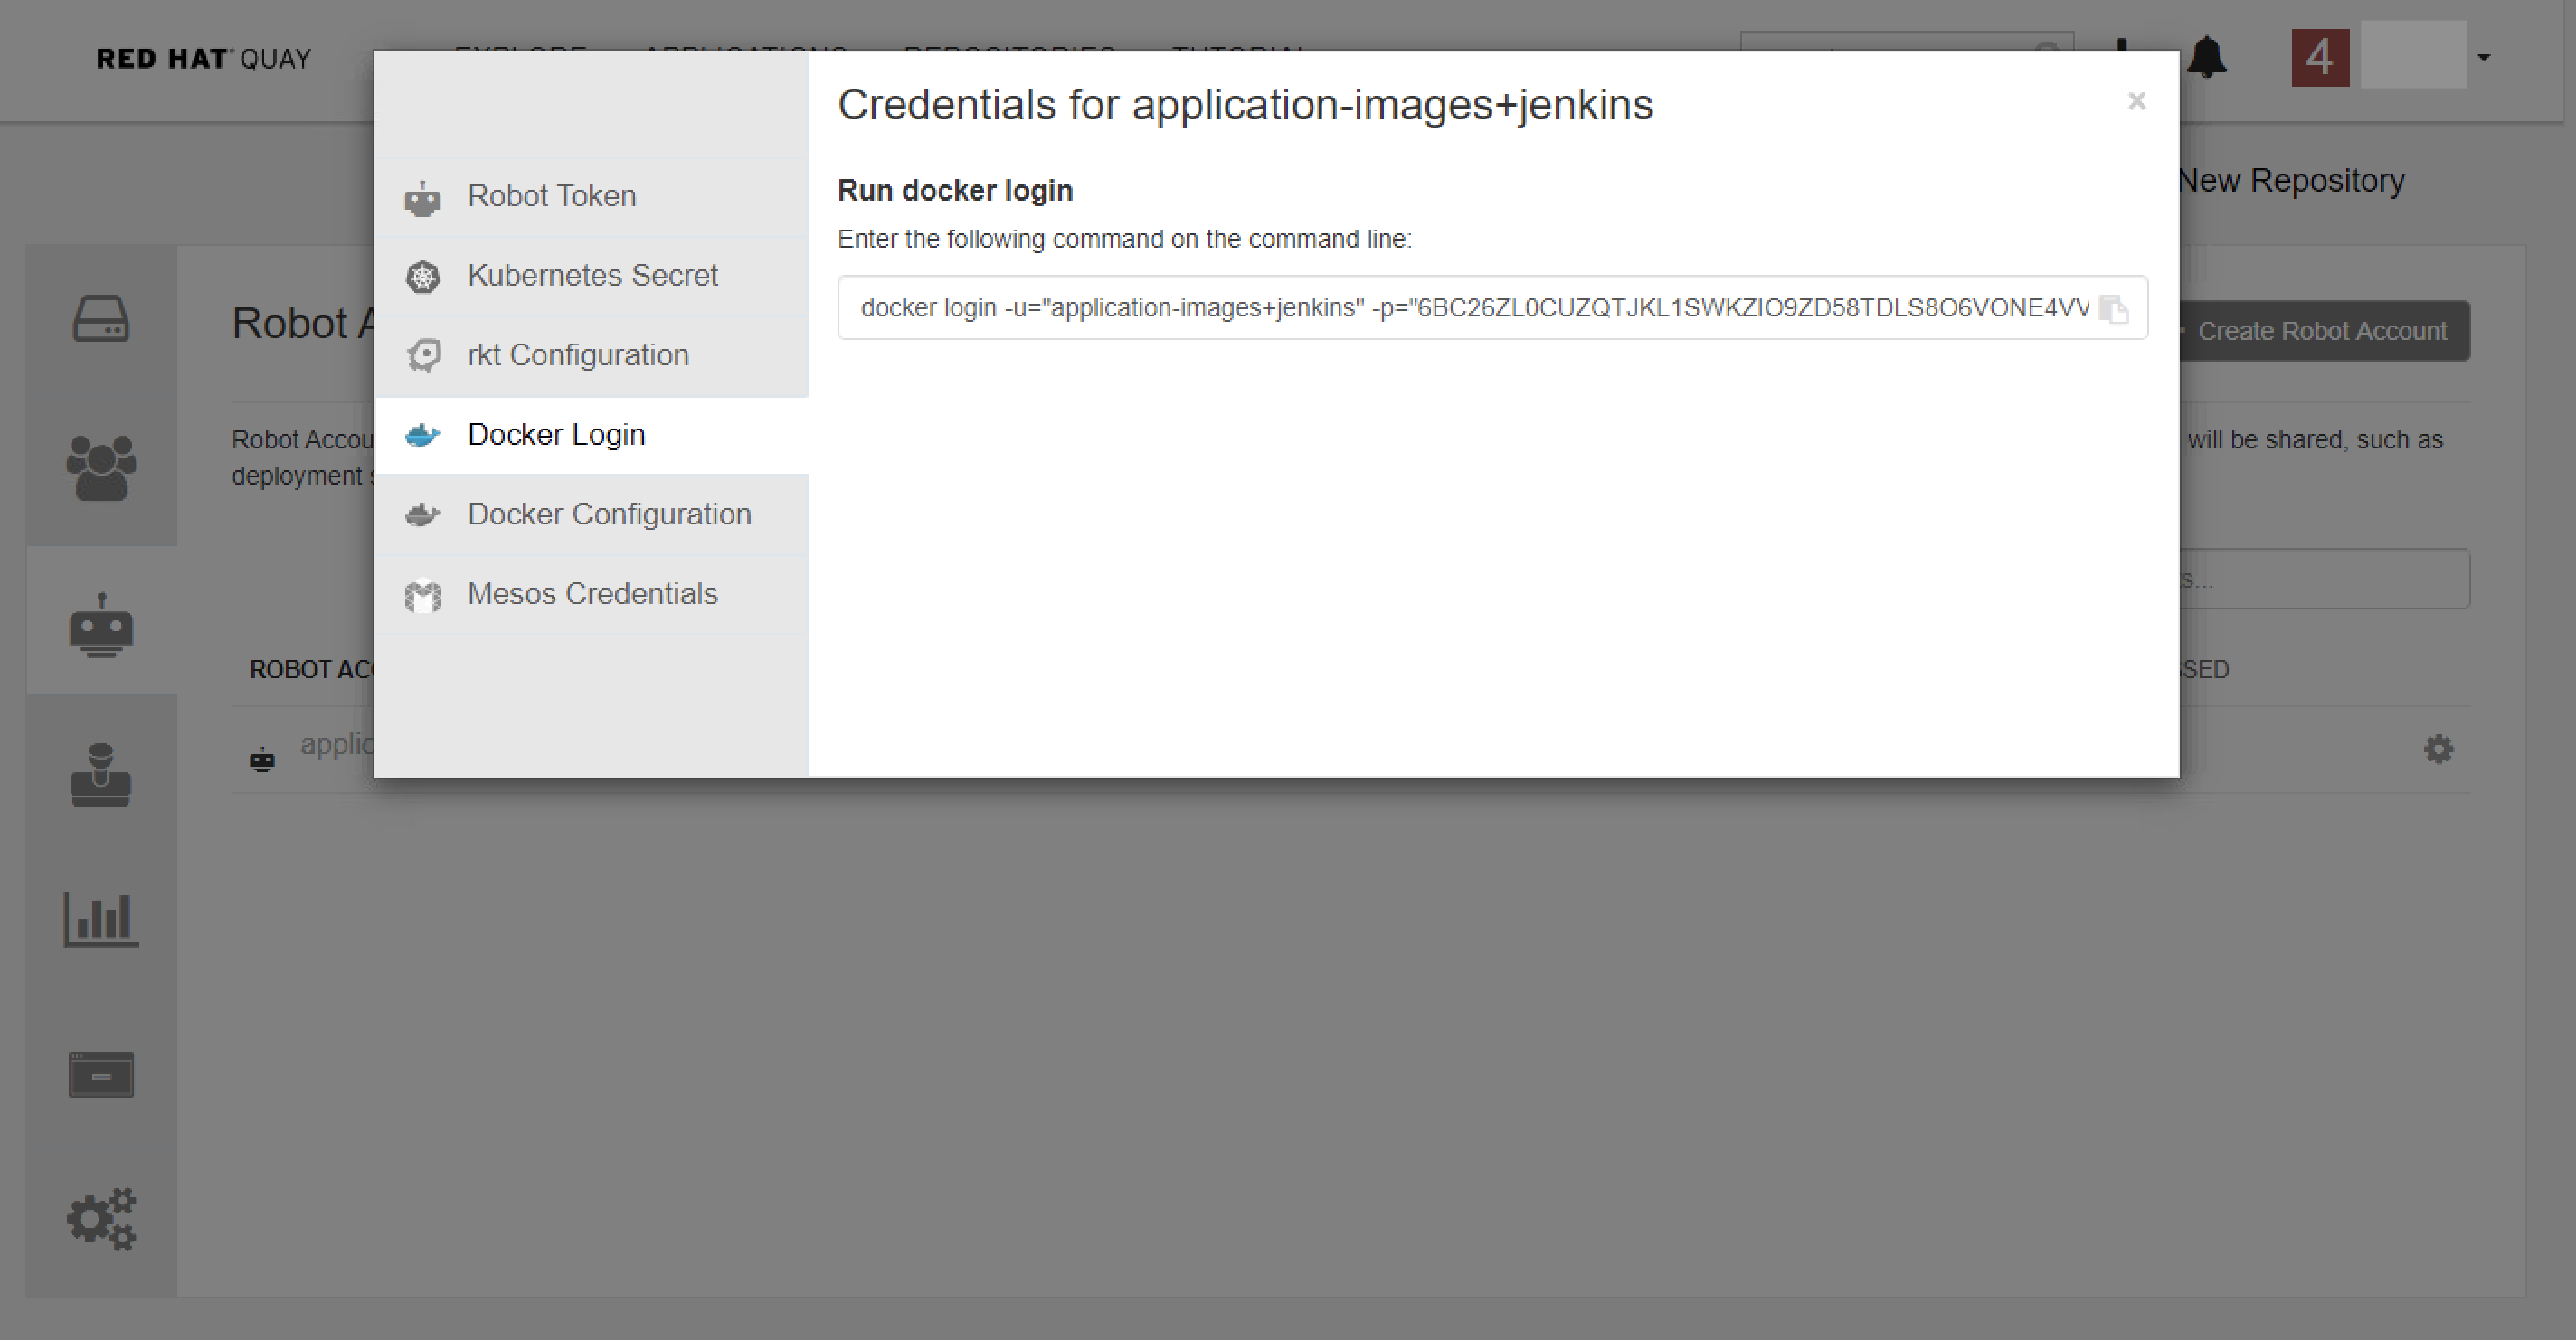
Logging in with a robot account on other Server
$ docker login -u="application-images+jenkins" -p="6BC26ZL0CUZQTJKL1SWKZIO9ZD58TDLS8O6VONE4VVNF9M1ZQGGMCVBXORNC0BNG" quay-eu-uat
$ docker pull quay-eu-uat/application-images/test:1
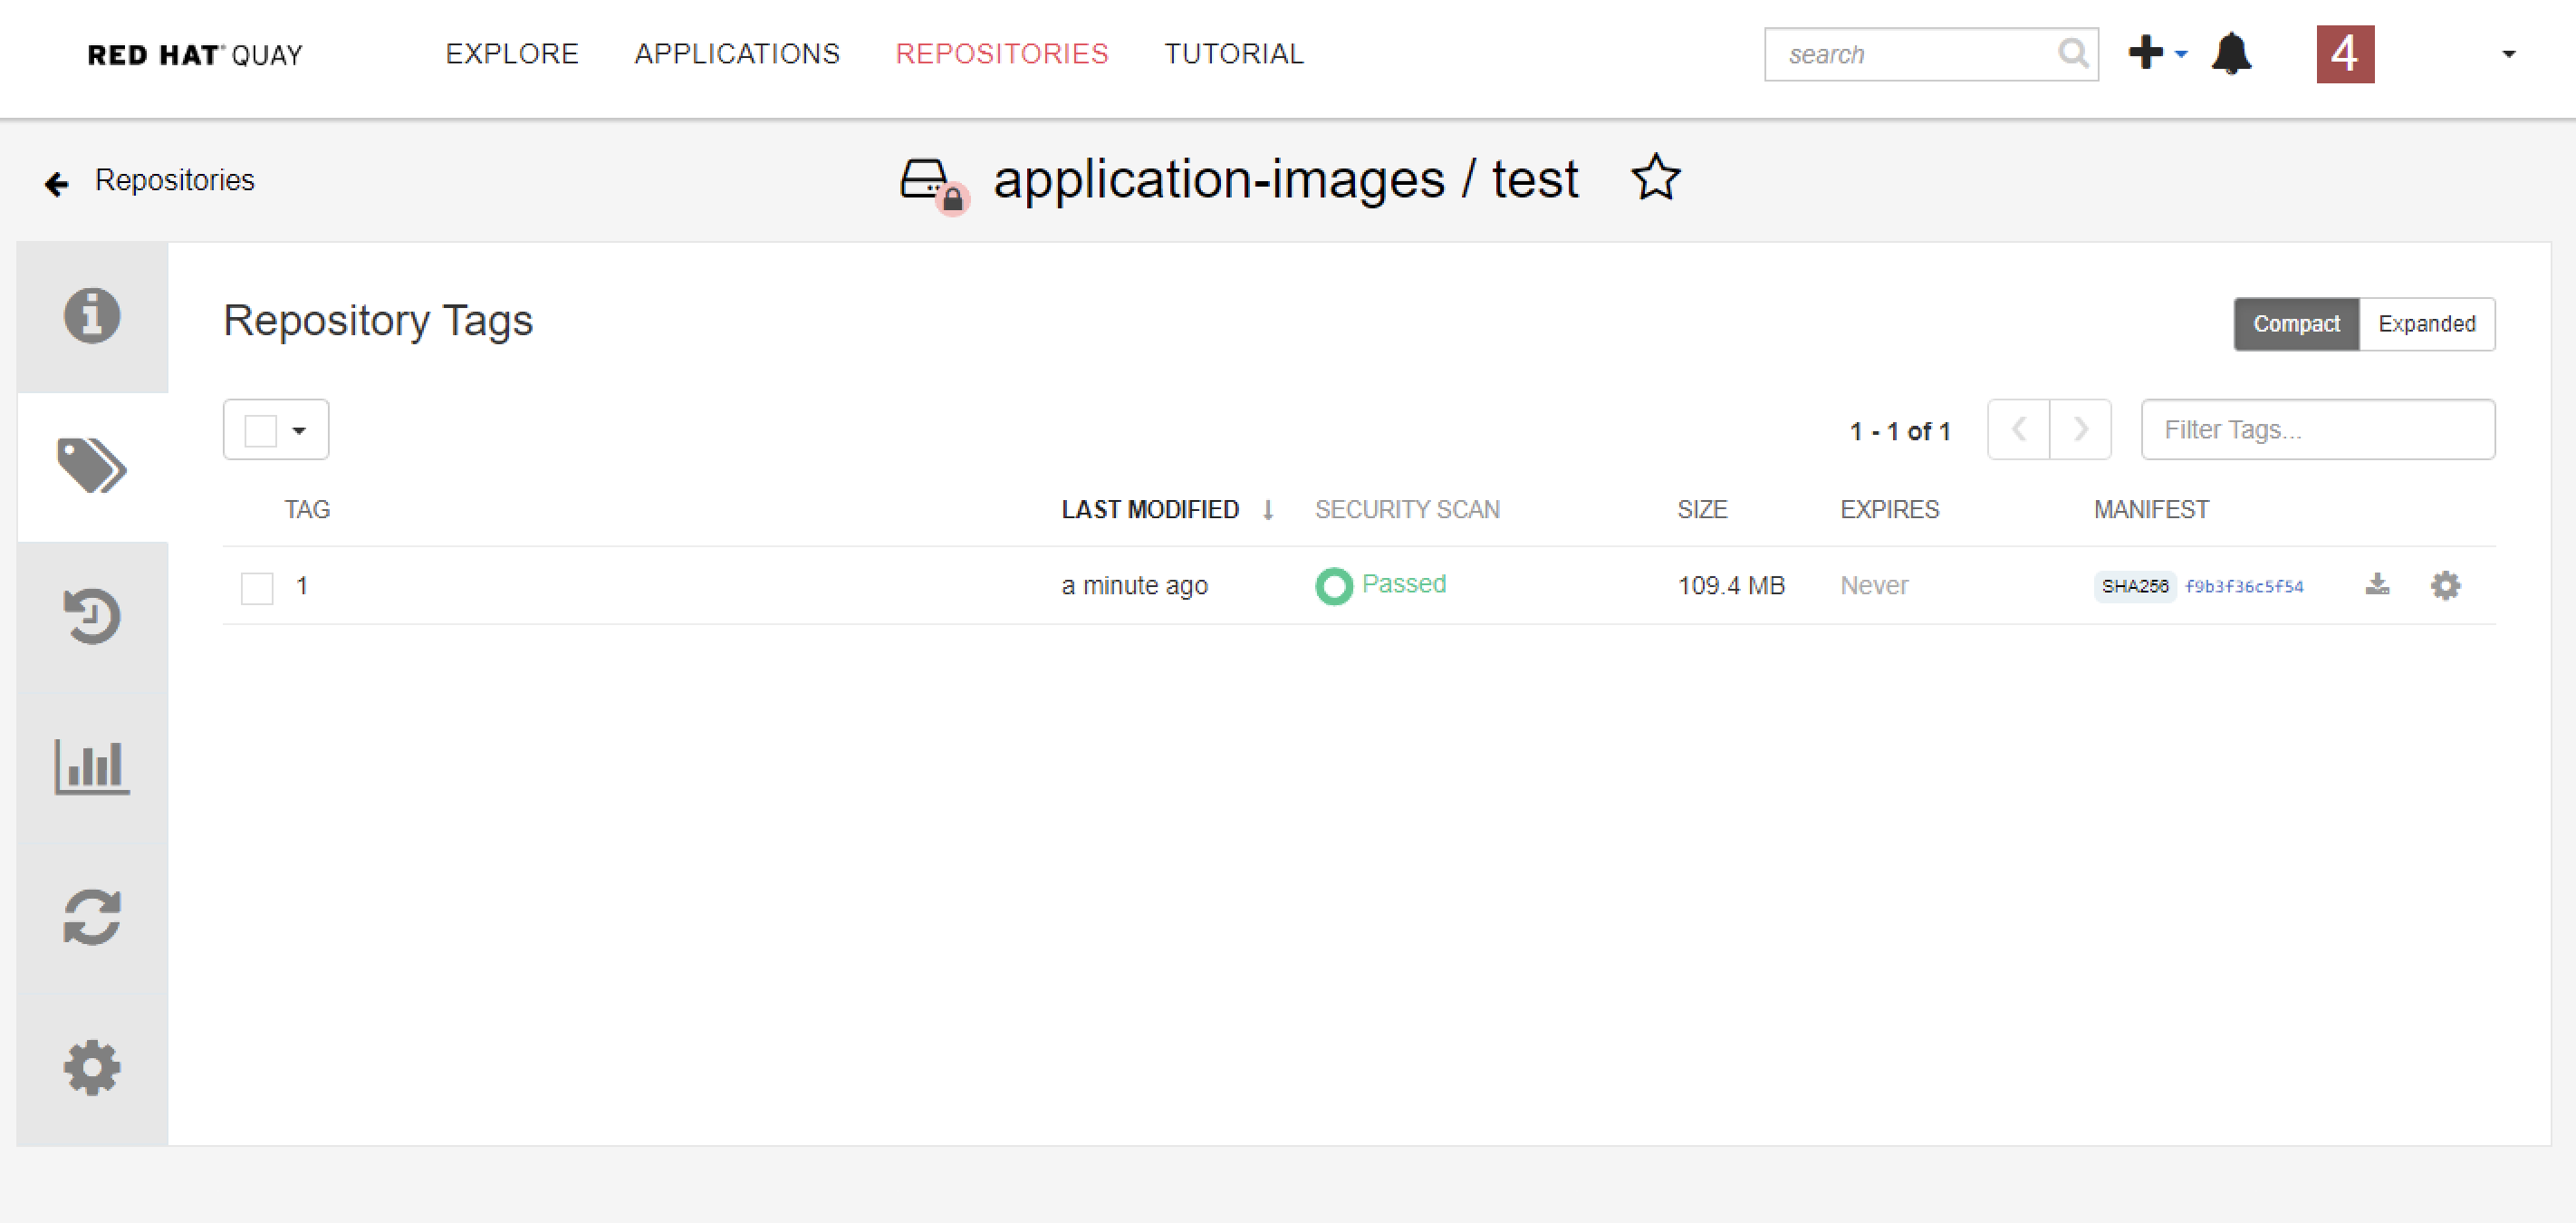
The Tag Expiration is a very useful feature when you just want to build and push some images for temporary testing. Tag expiration can be set in two ways:
Setting tag expiration from a Dockerfile
Adding a label like quay.expires-after=20h via the Dockerfile LABEL command will cause a tag to automatically expire after the time indicated. The time values could be something like 1h, 2d, 3w for hours, days, and weeks, respectively, from the time the image is built.
Setting tag expiration from the repository On the Repository Tag page there is a UI column titled EXPIRES that indicates when a tag will expire. Users can set this by clicking on the time that it will expire or by clicking the Settings button (gear icon) on the right and choosing Change Expiration.
If you have multiple distinct Quay servers on different regions, or you want to synchronize the latest official images from DockerHub or Red Hat Registry to your local private registry, the mirror repository feature is for you.
To mirror an external repository from an external container registry, do the following:
Create a robot account to pull images for the mirrored repository:
Select Create New Repository and give it a name.
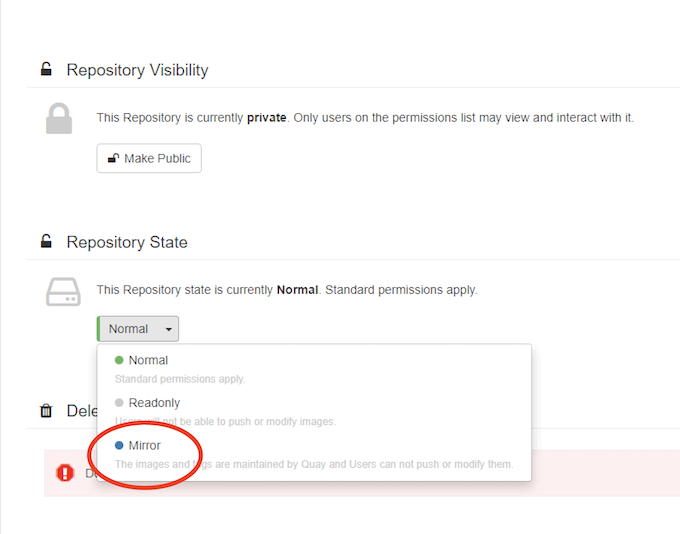
Select the Settings button and change the repository state to MIRROR.
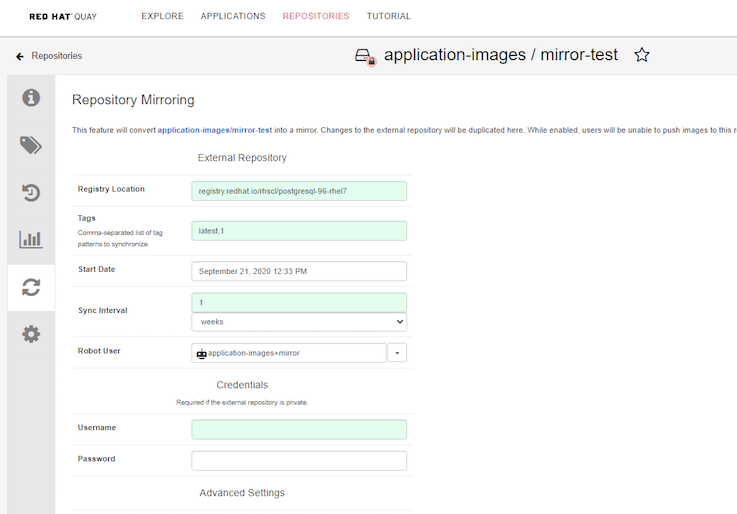
Open the new repository and select the Mirroring button in the left column. Fill in the fields to identify the repository you are mirroring in your new repository.
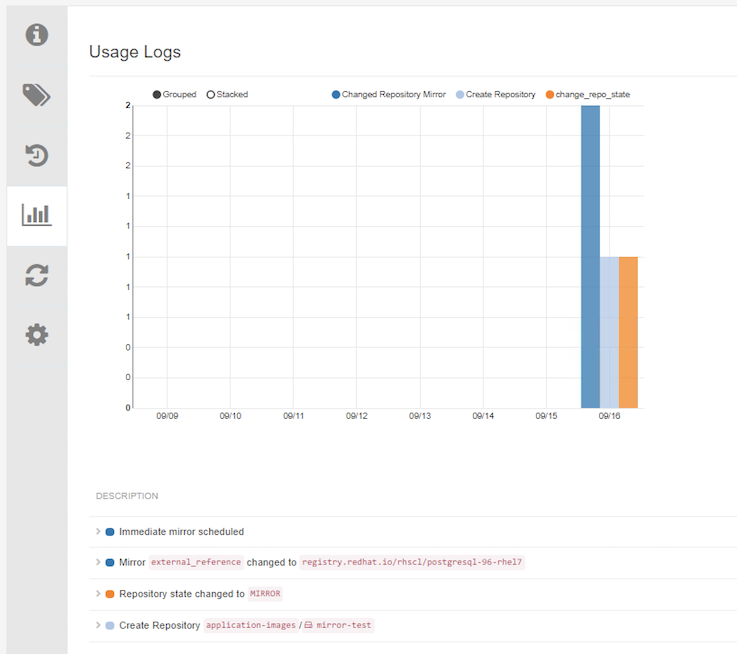
Check the synchronization status from Usage Logs
Quay supports adding notifications to a repository for various events that occur in the repository’s lifecycle. It is a pretty useful feature that can notify users or call CI/CD pipeline when some events happen.
Quay support notification for the following events:
When an event happen, you can use the following methods to notify users:
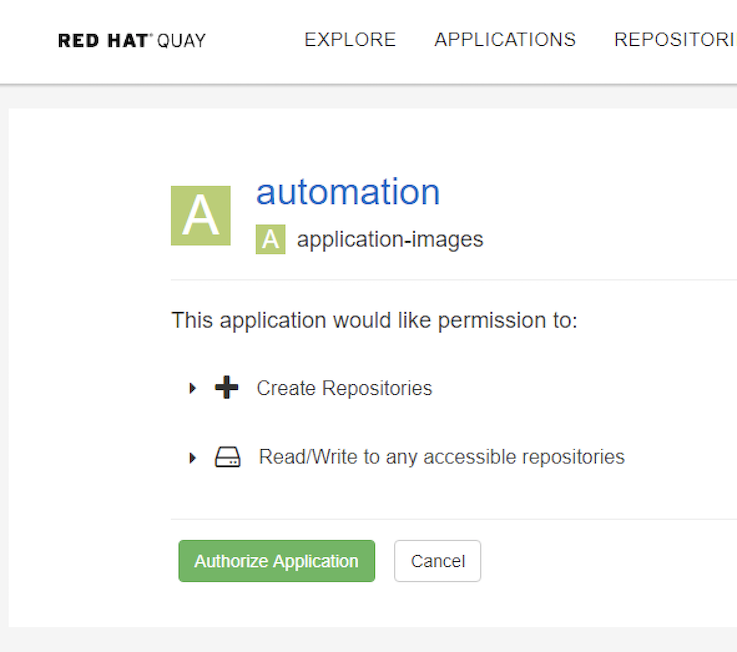
Red Hat Quay offers programmatic access via an OAuth 2 compatible API. It is very useful when you want to do some automation to set up and manage Quay, such as set up Mirror-Repository or Notification automatically. Generation of an OAuth access token must normally be done via either an OAuth web approval flow, or via the Generate Token tab in the Application settings with Quay's UI.
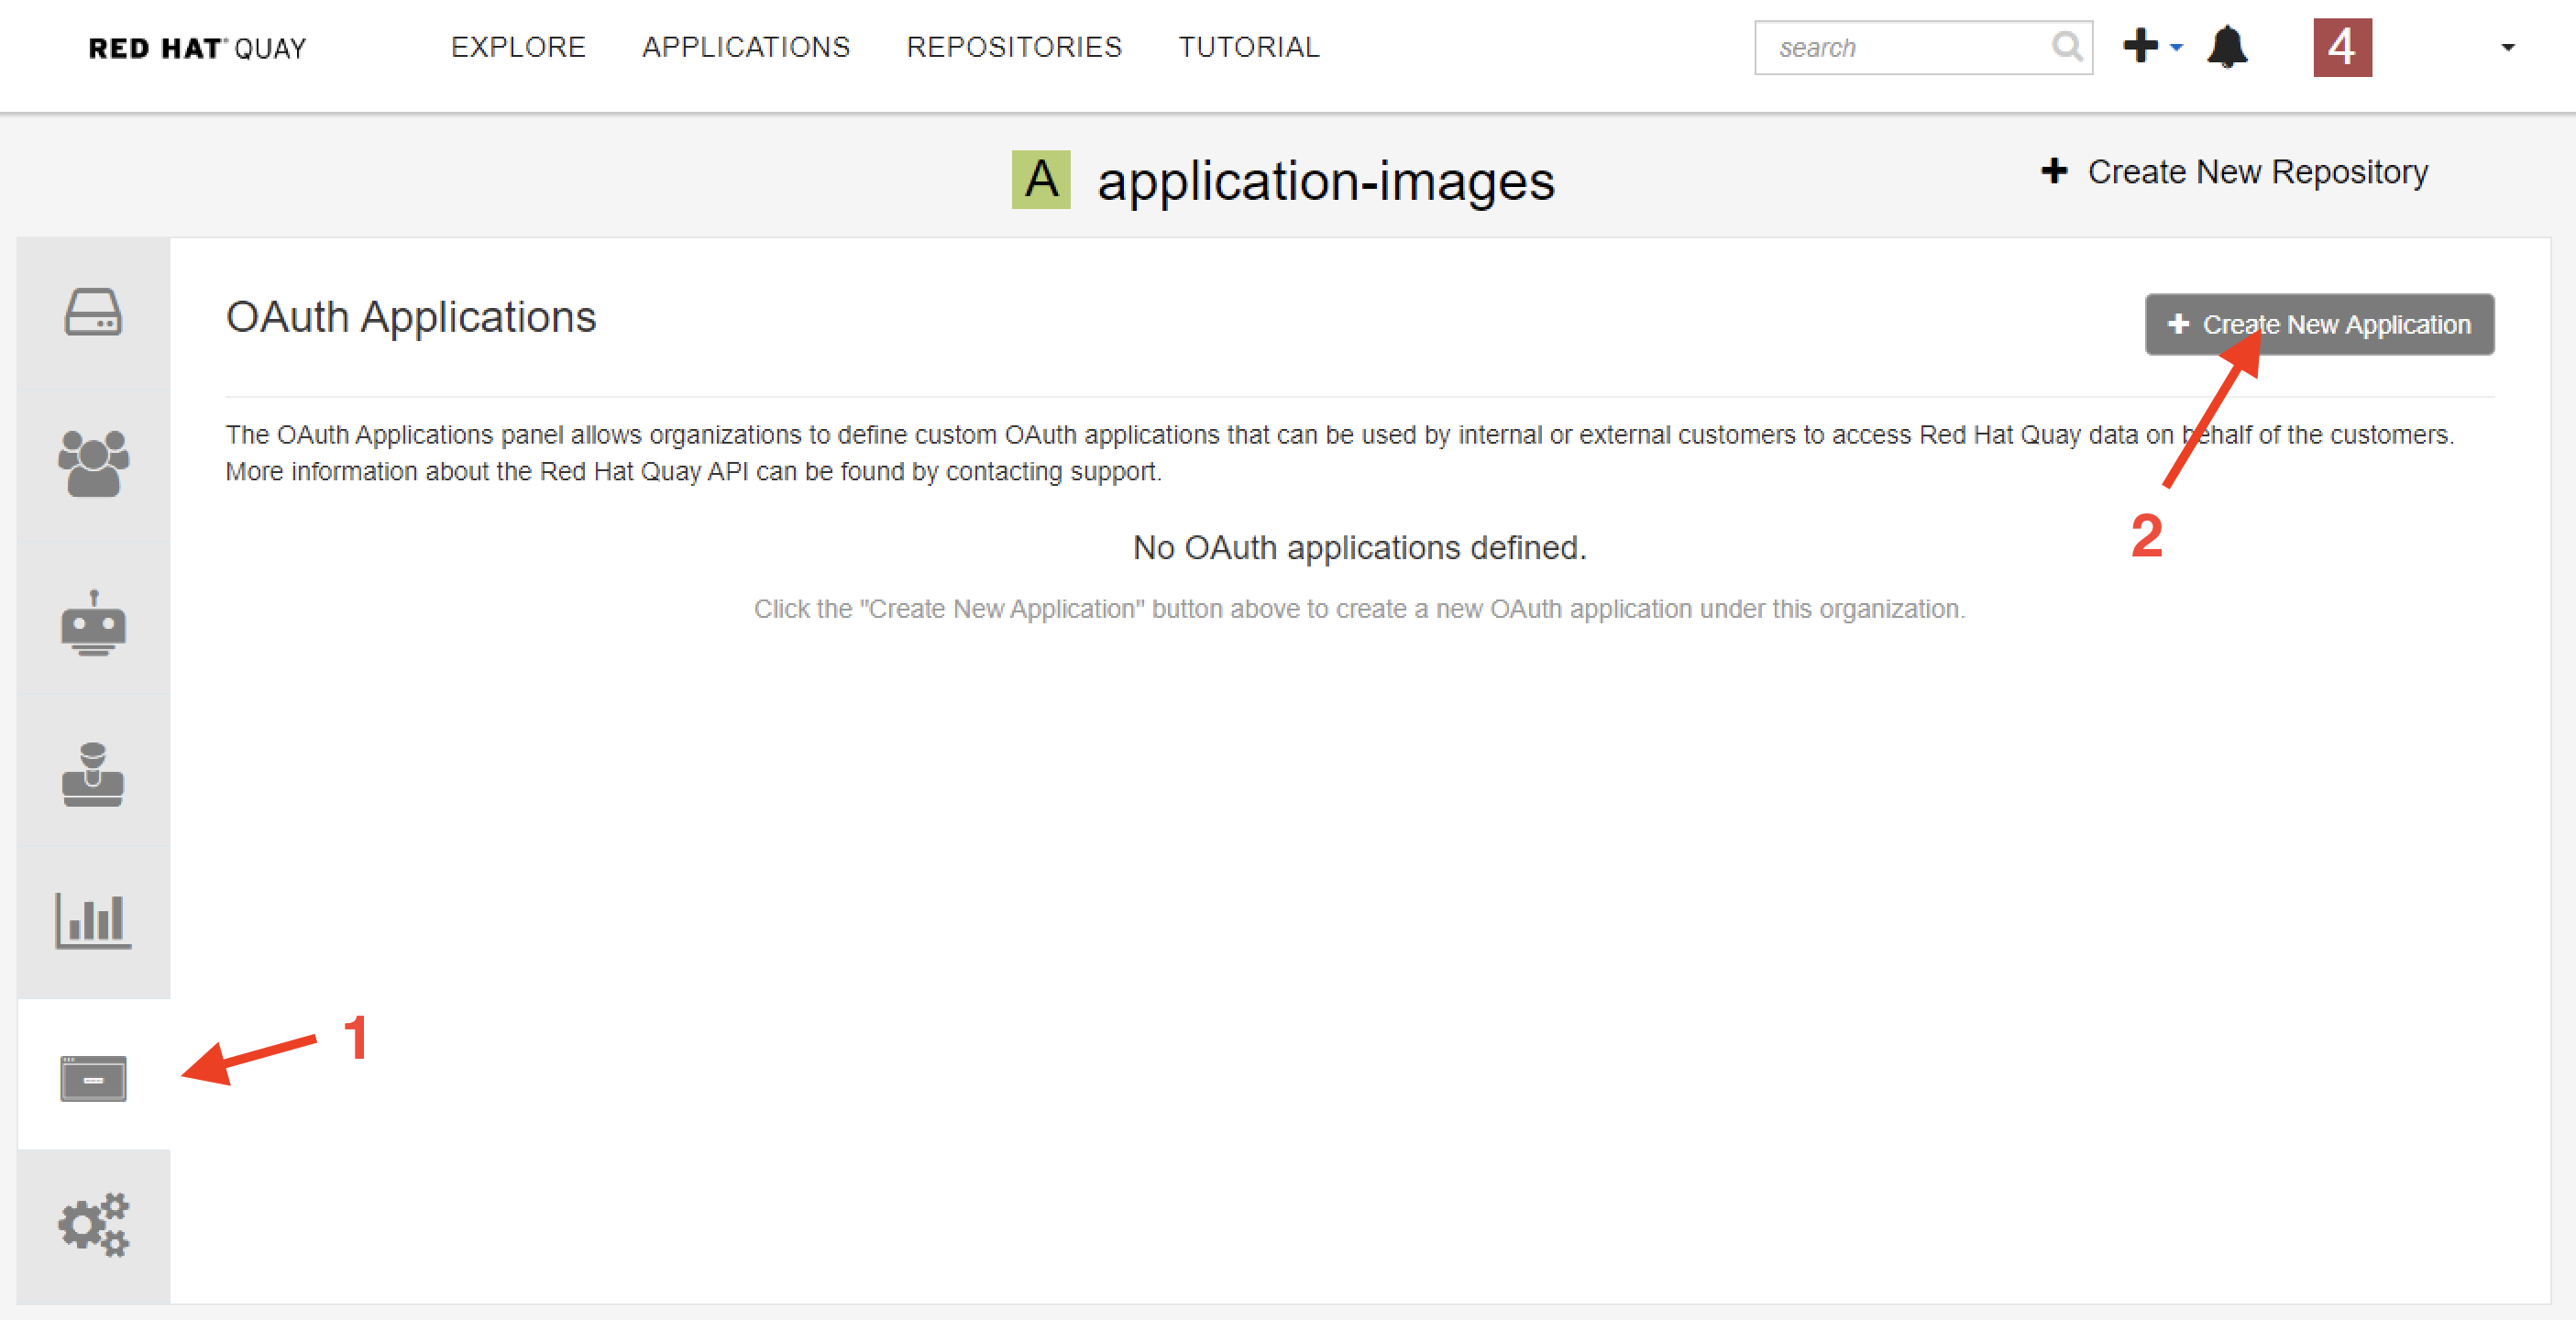
Create a new Oauth Application
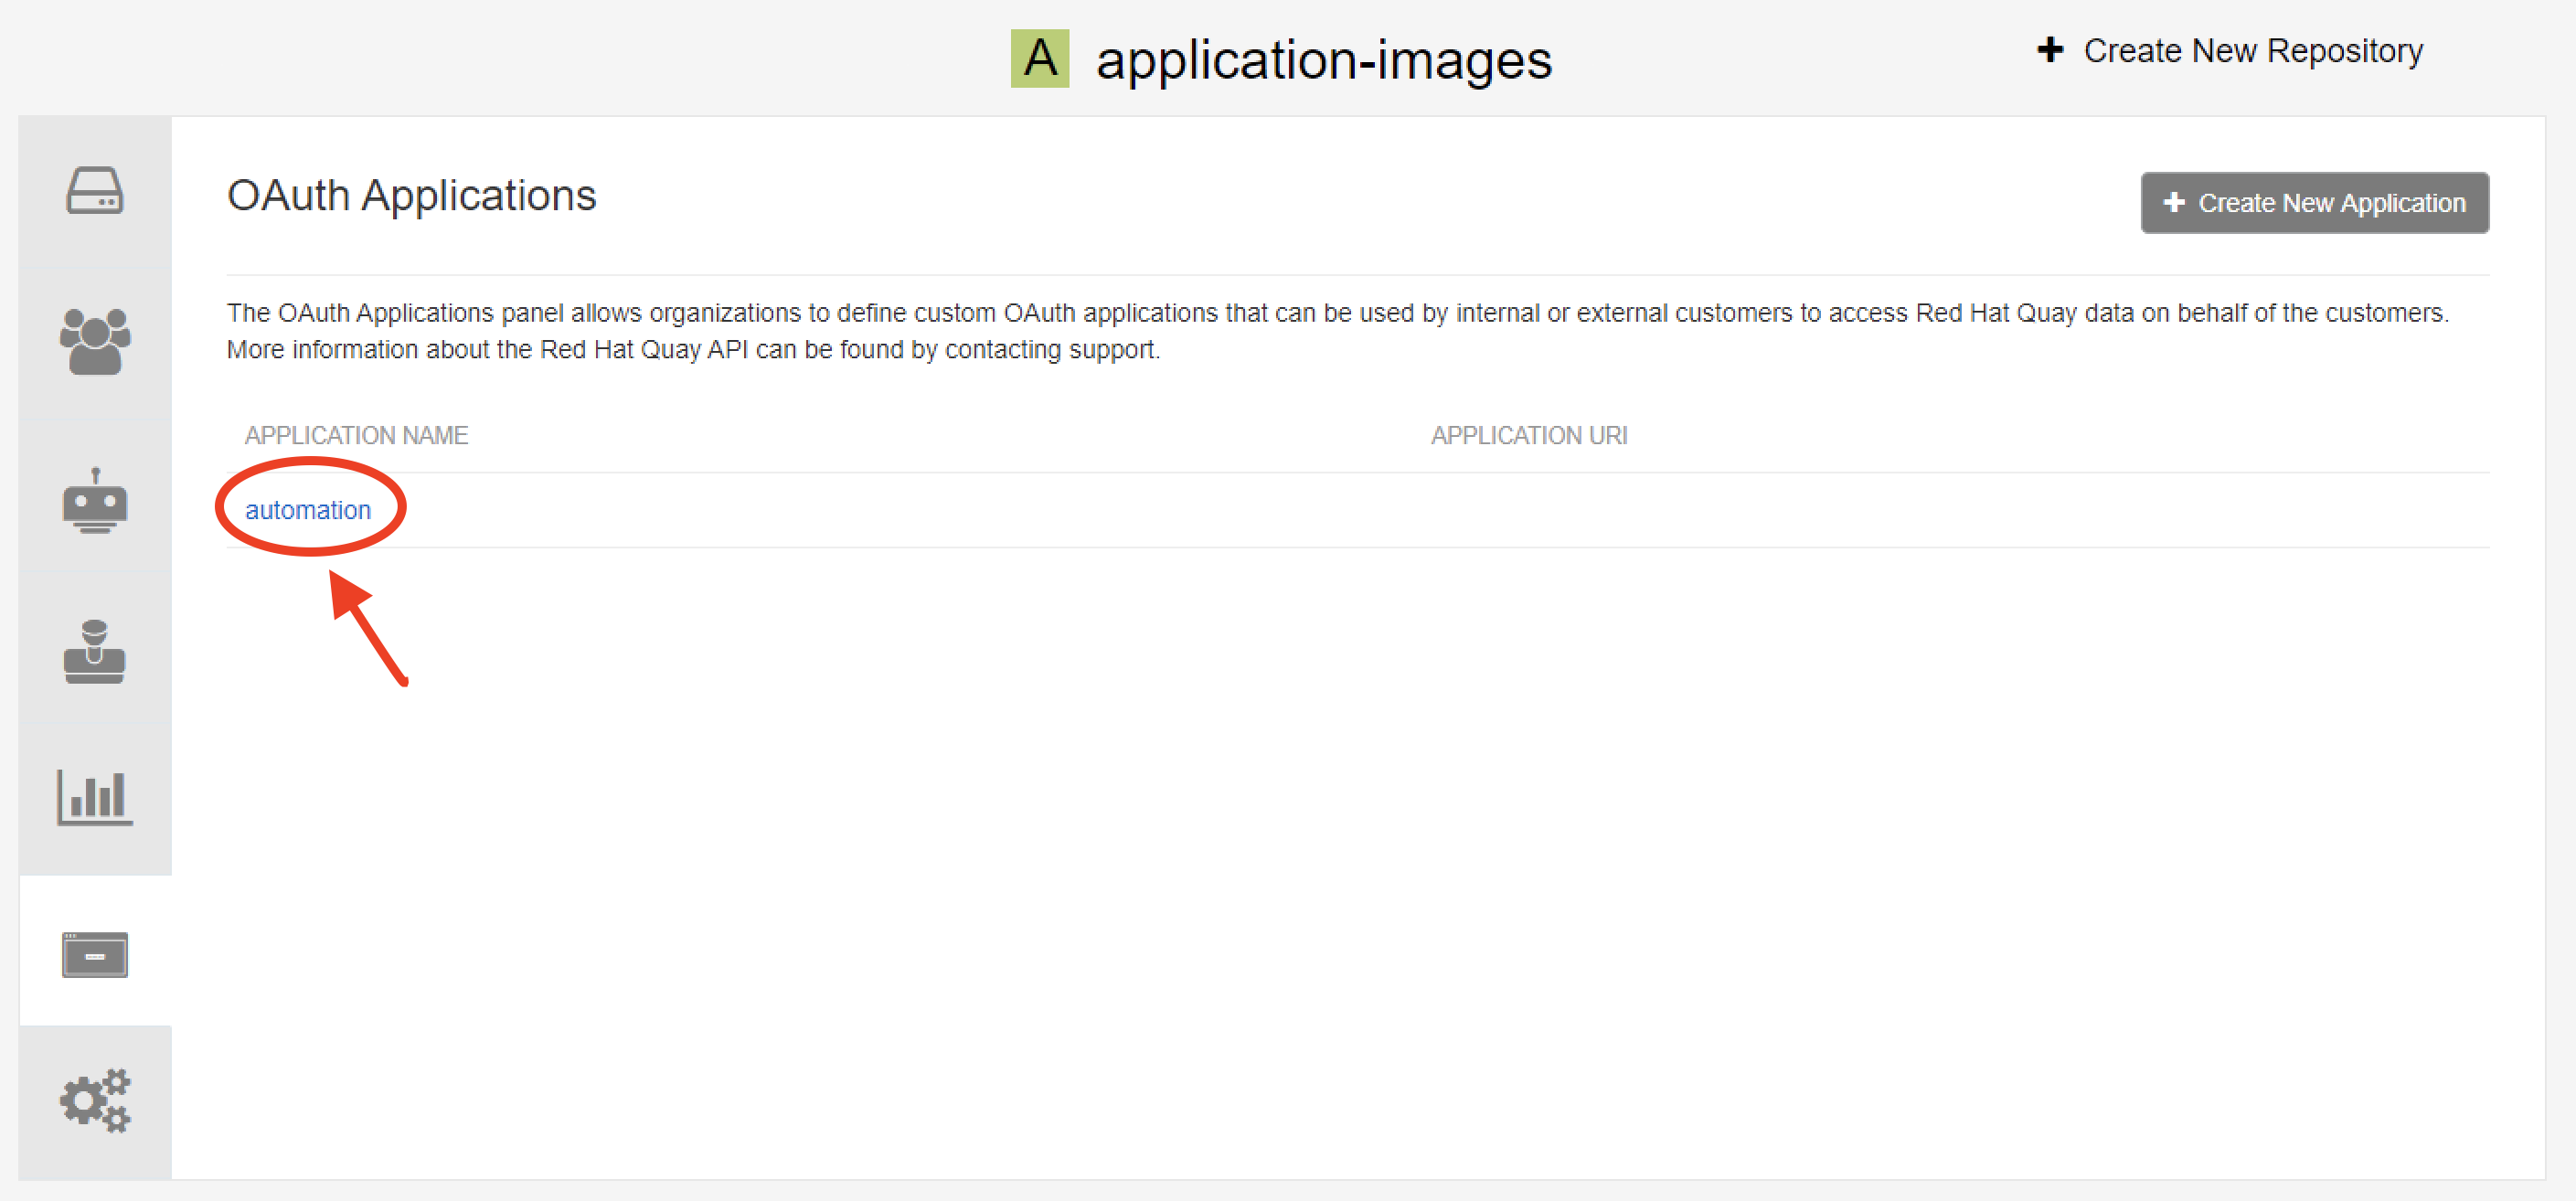
Create access token
Assign appropriate permission to this access token
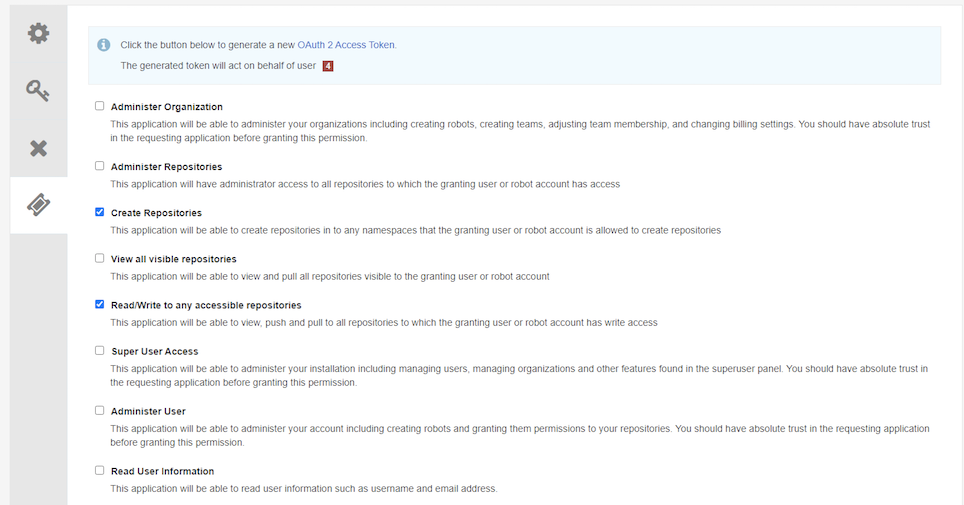
Obtain the access token, it will show only once.
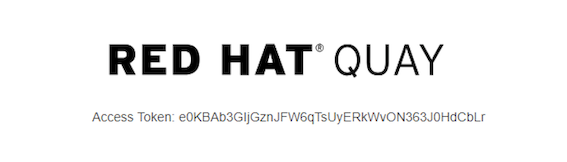
Use the access token to access Quay API. You can refer https://docs.quay.io/api/swagger/ to check the Quay API usage. for example:
curl -s -X GET -k https://quay-eu-uat/api/v1/repository/${QUAY_REPO}/image/${IMAGE_ID}/security?vulnerabilities=true -H "Authorization: Bearer ${QUAY_ACCESS_TOKEN}" -H "Content-Type: application/json"
There is another similar and popular project - Harbor. It is an open-source registry project and hosted by the Cloud Native Computing Foundation (CNCF). There are not much differences between Quay and Harbor. As a private images registries solution, both Quay and Harbor support many useful functionalities for daily usage.
Darumatic has set up both solutions for different clients according to their requirements. If you are planning to run containers on OpenShift, I would recommend you using Quay, because it is supported by Red Hat and highly integrated with OpenShift.

Felix Schmitz
Brandon Tsai
Heiner Gamboa

Brandon Tsai
Norell Naidoo

Norell Naidoo
Brandon Tsai
Address
Level 8
11-17 York Street
Sydney NSW 2000
Phone Number
+61 2 8294 8067
Email
[email protected]
By Adam Yue
By Felix Schmitz
© 2017-2024 Darumatic Pty Ltd. All Rights Reserved.